Nederland
 België
 Deutschland
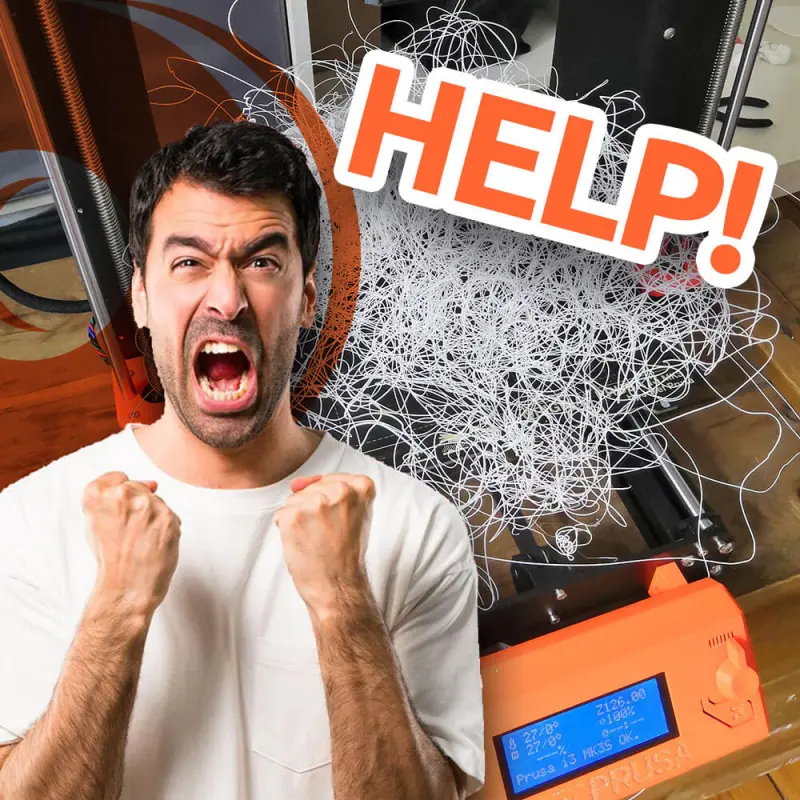
Every now and then I get an email from people running into problems while printing their 3D object. Often nowhere near as bad as in the image with this little blog, but hey, drawing a bit of attention is fun too! In 99% of cases this is not down to the filament, whether bought at 3D Fanshop or from fellow sellers. In most cases not all that much experience has been built up with 3D printing yet and many of these issues are new to that person. Generally speaking, many of the problems are easy to solve with a few facts and knacks. Everyone runs into these things at the start, and by experiencing problems and then solving them you get to know your 3D printer and the technology best. Practice makes perfect.
3D printers, a complex collaboration
Take a good look at your 3D printer: it is a very elaborate device with many (stepper) motors and transmissions, electronics, wiring, the various axes, a motherboard under the bonnet, a hotend with nozzle and possibly a bowden tube (the little tube through which your filament is carried from the extruder to the hotend). Only when all these components connect and work together flawlessly is your print a success. So there are quite a few moments at which some noise can get onto the line.
Once you have brought your printer home, make sure you assemble it accurately. There are printers that arrive half assembled and others you have to build up completely from scratch. Read the manual carefully, and something I found very useful was watching the various assembly videos on YouTube. Every millimetre of deviation can later cause an irregularity in your print. In many cases it is wise to also go over the already assembled parts carefully and adjust them where necessary. Make sure you have the right tools and the right aids so that everything is fitted neatly. Think of setting the various frame parts precisely square, tensioning the drive belts, lubricating and adjusting the wheels, bearings and guides, and all the other essential matters.
After assembly, give your printer a regular service too! You can then oil everything again, remove dust and dirt from the axes and wheels, and re-tension the belts if needed.
Bed levelling, a time-consuming job — or is it?
Very important, and perhaps the most important thing, for a successful print is levelling the bed. In other words, adjusting the print surface relative to the nozzle. The print bed does not necessarily have to be 100% level — ideally it is — but the point is that at every moment of printing the nozzle is at the same, correct distance relative to the bed. So it is important that you know exactly how to adjust your bed. On many printers this is done with large knobs that can raise and lower your print bed. Pay close attention, because once you have set one corner correctly you will find you have to adjust the other corner a little again. My tip: do not make overly large changes, but go around the bed several times. Use a thin piece of paper (an A4 sheet from your ordinary printer, for example) and make sure the nozzle touches it. You should still be able to move the paper; if it is stuck, the nozzle is too low. My experience is that when the nozzle scrapes the paper slightly, it is at the right height.
Because a print bed is often reheated with every print, the material it is made of will start to work too. This makes it necessary to level the bed again after a number of prints (or sometimes after every print).
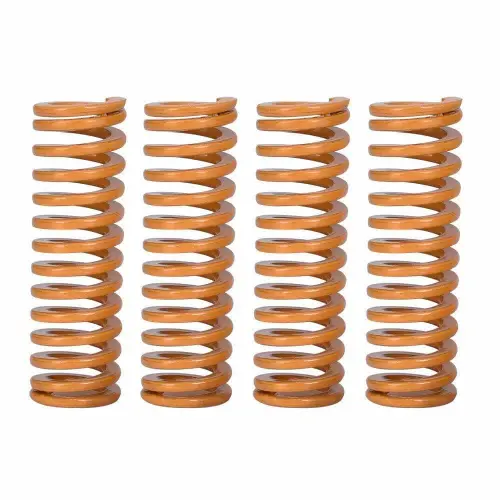
There are various aids for sale that make life a great deal easier when levelling your heated bed. In this shop you will find yellow springs, for example. These springs can be used on many printers such as the Creality Ender 3 (pro, v2, etc.) or the Ender 5. They make the large knobs turn less easily and press a little more firmly against the bed. This prevents you from having to readjust your whole bed when you accidentally bump into it. If you are a bit handier, you can extend your printer with an Auto Bed Levelling sensor (ABL). If you buy a BL Touch, for instance, you can have your printer measure and calibrate your bed at 9 points before every print. Small irregularities are then corrected by the printer itself. It is still necessary to sort out the coarse bed levelling yourself. All in all you now have to level your bed far less often and you have more time to put your printer to work!
Keep it clean!
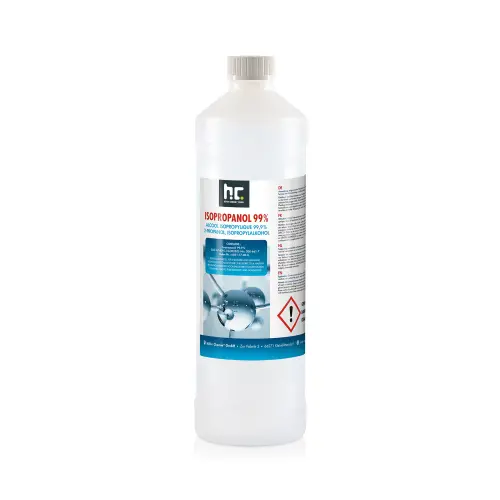
I cannot emphasise often enough that the print bed must be undamaged, clean and above all grease-free. Filament does not adhere to grease! :) After every print, make sure that remnants of draft and support are neatly removed from the bed, however awkward this can sometimes be. Make sure your nozzle is at the ideal distance from your bed so that the filament really is pressed down a little, without being squeezed onto it or laid down from too high up. Find the ideal balance. On many printers you can adjust the Z-offset while printing; look online to see how this works for your printer. So do start with a few test objects before you set that one big beautiful object going. Be careful with knives, spatulas and other tools for tackling your print when it will not come loose. Every little scratch will show up on the next print. Then keep your heated bed grease-free by wiping it down thoroughly before every print with a microfibre cloth (or paper) and isopropyl alcohol (also called isopropanol or IPA).
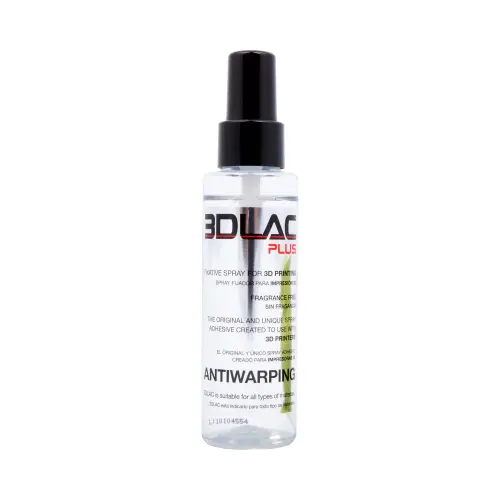
Does your print still come loose from the print surface a bit too easily after all this adjusting? Then you can use adhesive spray. This spray — we sell 3DLAC in two versions — provides extra adhesion during printing. After your print, your print bed will cool down again and the adhesion will decrease, so you can easily release your print from your bed again. Ideal!
Slicing software for slicing your 3D object.
When you have made something cool to 3D print, or you have found a great figure on sites such as MyMiniFactory or Thingiverse, you have to get it into your printer. Software is needed to prepare the 3D object for your 3D printer. So-called slicing software. There are various programs (or apps) to be found and every program has its own advantages and sometimes disadvantages too. I myself started out using Cura to slice my objects. I still use Cura for my prints on my (heavily tuned) Ender 3. But I find PrusaSlicer better suited and tuned to my Prusa i3 MK3 with MMU2S. These are 2 examples of software, but there are more, such as Simplify3D.
In this software you can specify very precisely which temperatures should be used. Have a good look at your filament to see which temperature is recommended for both the hotend and the heated bed, and start experimenting and varying with this. Every printer is different and will need its own fine tuning. Many of these programs have presets baked in for filament and printer types. Fiberlogy filament, our A-brand premium filament, can be selected as a preset in PrusaSlicer, for example.
You also have to look carefully at the object you are printing: is support needed to hold up the overhang? If you have to print high up in the air from one side to the other, you will have to deal with an annoying thing called gravity. So your filament has to be supported. In much slicing software the support is calculated automatically, but you can also choose to indicate yourself exactly where you want to use support material. It is also important to check whether there is enough contact area between the object and the print bed. Perhaps a raft or a brim is additionally needed for this. With it you give the print more surface area and therefore better adhesion. All sorts of things to consider before you click the print button! A drawback of supports, brims and rafts is that you are kept busy for a while after printing, removing everything neatly.
A whole blog could be written about slicing software alone, so my advice is: download, try and experience. That way you will quickly notice what suits you best and works most conveniently in combination with your 3D printer.
The hotend and your nozzle have to be in top condition.
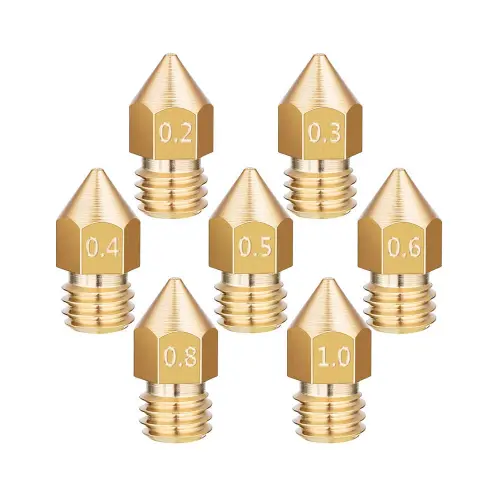
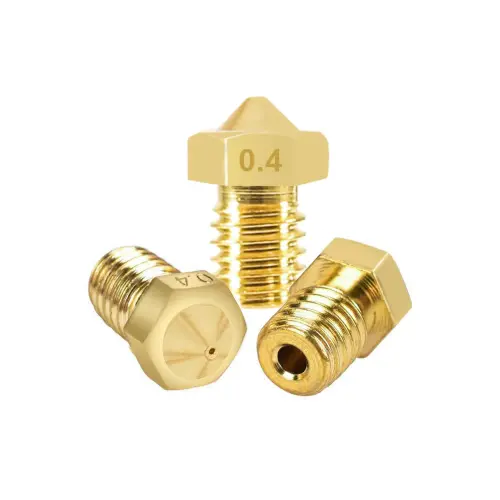
Another very important part where many problems can occur is the nozzle, in other words the tip where the filament leaves the hotend. Just think about it: to an accuracy of tenths of millimetres, this nozzle is responsible for the flow of your filament. If something goes wrong here you will notice it quickly. A nozzle can be made of various materials, ranging from brass to all kinds of (hardened) steel versions. Every nozzle has its strong and less strong points and a corresponding price. It is entirely up to you what you want to spend on a nozzle. What does matter is that the nozzle is suitable for the type of filament you use. As an example, our wood filament, Fiberlogy FiberWood, has real wood fibre worked into the filament. So as not to obstruct the passage of this filament, it is strongly recommended to use a nozzle with a diameter of 0.5 mm. Slightly larger, then, than the usually supplied standard diameter of 0.4 mm. Over time a nozzle can also start to contain remnants of old (burnt) filament of various types. You will then notice that your filament no longer flows smoothly. A nozzle is also subject to wear; during a major service it is advisable to replace the nozzle as well when it shows signs of wear.
Pay close attention to which type of nozzle you buy: there are various standards used by different 3D printer manufacturers. 2 of these versions are, for example, the "MK7/MK8 nozzles" and the "M6 E3D". Consult your printer's manual to determine which nozzle is suitable for your 3D printer.
While you are at it, check the fans by your hotend: are they free of dust and can they turn freely? Proper cooling of the hotend and the nozzle ensures that the liquid plastic gradually solidifies again the moment it has been put in place. Do be careful, because you do not want to damage the fan. Should something go wrong unexpectedly, the fan can also be replaced perfectly well with a little effort.
Cleaning the nozzle
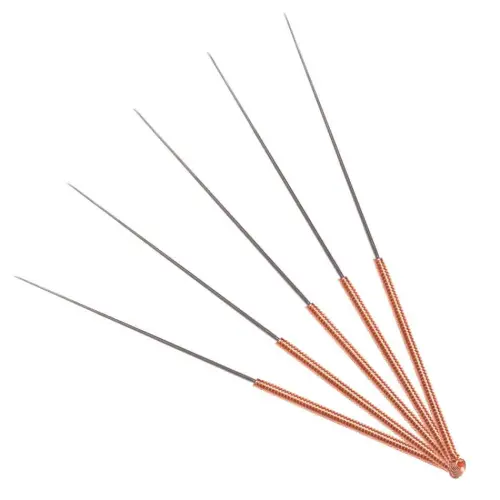
You can maintain a nozzle well; use a brush with metal bristles for this, so you can scrub remnants of filament off the outside. But you can keep the inside nice and clean too. You can use the so-called "cold pull". By first heating your printer right up, to around 240°C, everything comes nicely loose. Then let the temperature drop to 80°C and pull the filament out of the hotend with a firm tug. Many remnants are carried out with it. Repeat if necessary.
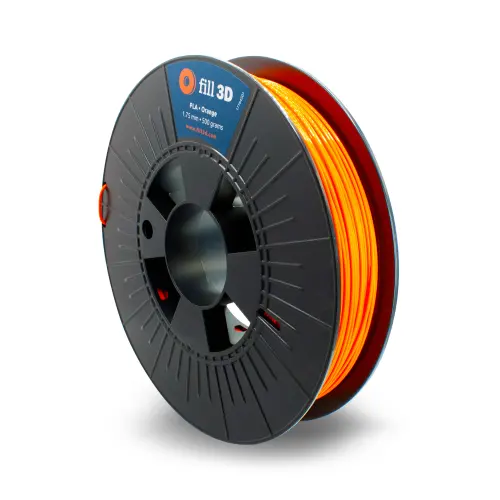
You can also use a special "cleaning filament". With this filament, irregularities are carried out along with it. A filament often used for this as well is glow in the dark filament. Because of the structure of our Fill 3D Glow in the dark filament, many remnants are carried out with it. So quite apart from being able to print super cool things with it, it is also handy for keeping your nozzle clean. Win! :)
Going deeper — time to fine-tune!
Once you have all your affairs in order, there is a great deal more you can fine-tune on your printer than you thought at the start. Let me give you a few hints on what to look out for to get even better prints. To begin with, you can adjust the e-steps. With this you make sure that if you want 10 cm of filament, 10 cm of the filament is actually used. Logical, you will say, but in practice it turns out that you sometimes use too little filament because of resistance in the bowden tube, worn gears, or a nozzle that is clogged. There are plenty of videos about it!
In addition, with a flow test and adjusting the flow rate you can also determine the amount of filament coming out of the nozzle. In such a test you print a small tray, for example, with the wall thickness set to exactly 0.8 mm. You then measure the actual thickness with a precise pair of callipers. After that you can apply a formula to it and easily adjust the flow rate in your slicing software!
Let's go!
These are some pieces of advice I often give people by email or phone. In many cases I then get the feedback that it is working out. So I thought it would be a nice idea to write a piece about it here. Perhaps most of it is obvious, but if you have got this far with your reading, I hope you can benefit from it! You can always get in touch. Finally I would say: have a look around my little shop, pick out a cool colour of filament and start printing! :)