Nederland
 België
 Deutschland
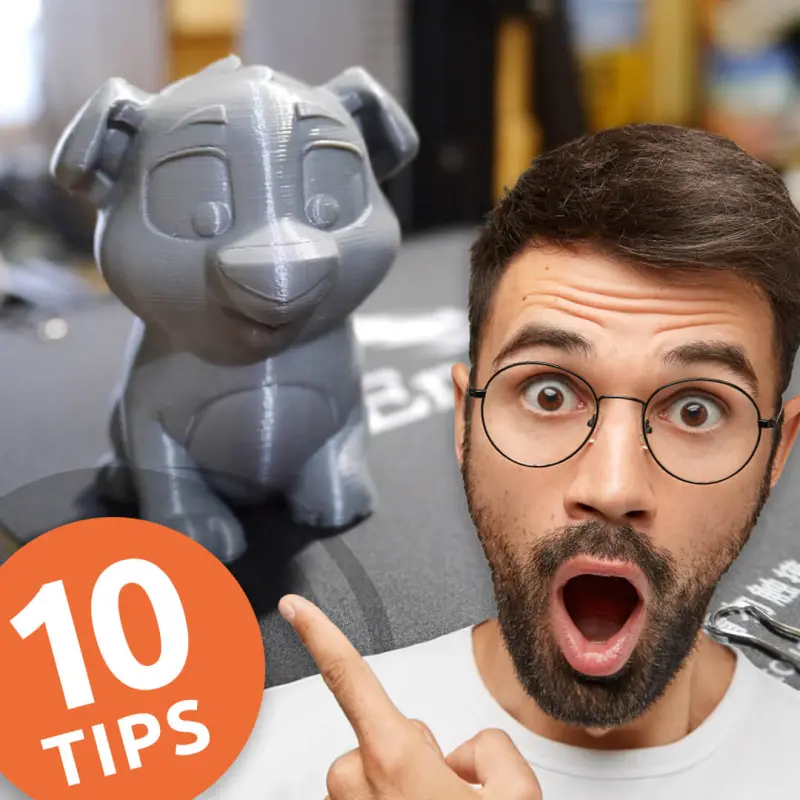
When I took my own first steps in 3D printing a number of years ago, there was still a lot to learn. I did not know that at the time, but looking back you can say that experience is what gets you better and better results. I still learn every day, but in this blog I want to turn my experience with 3D printing into ten tips that can be a helping hand for anyone just starting out with the hobby. I hope you find them useful.
Tip 1. Read the manual for installing your 3D printer and watch YouTube videos
I remember it like it was yesterday: you have just ordered your first 3D printer. You have probably done a lot of research and watched YouTube videos, or a good friend, acquaintance or family member recommended that you really should buy that one particular printer. Either way, you can put the waiting time to good use. Unless you have bought a fully assembled model, most 3D printers require a bit of tinkering before you can get going. Like many others, I think, I started with a Creality Ender-3. This printer arrives partly assembled, but there are still a few things that need to be fitted. My tip: have a look on YouTube. There are countless videos for countless printers explaining step by step what to watch out for and how to get certain parts mounted just that little bit more level or square. My 2nd printer was a Prusa i3 MK3S. You can buy this printer ready-made or as a kit. My urgent advice is: go for the kit. The 3D printer comes with a very detailed manual, both on paper and online. You will also often find whole communities of enthusiasts who want to help each other. By assembling your printer yourself, you are already busy getting to know your printer. I will come back to this later.
Tip 2. Ask for help when you are in doubt and let people inform you
This ties in with the tip above. If you get stuck building your printer, or at a later stage while printing a specific object for example, ask for help. Perhaps you have friends or acquaintances who also own a 3D printer — they will all have run into various problems and surprises already. Their experience will quickly put you back on the right track. If you do not have anyone close by who can help you with your hobby, then ask for help on a forum, or through Instagram, Reddit or YouTube for instance. My experience is that the 3D printing community is very willing to help one another. Do not feel too proud, because it is precisely that one tip that can make the difference between hours of struggling and the perfect print.
Tip 3. Start with an easy and print-friendly 3D filament
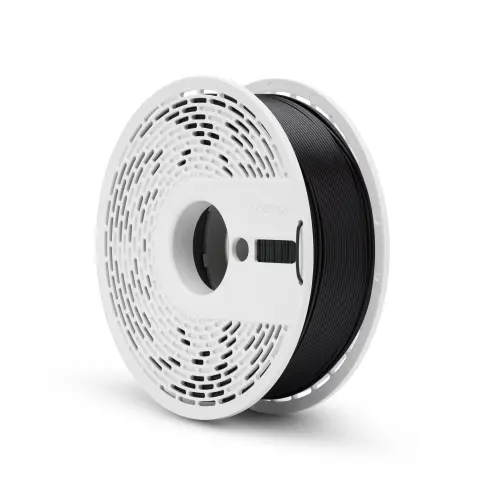
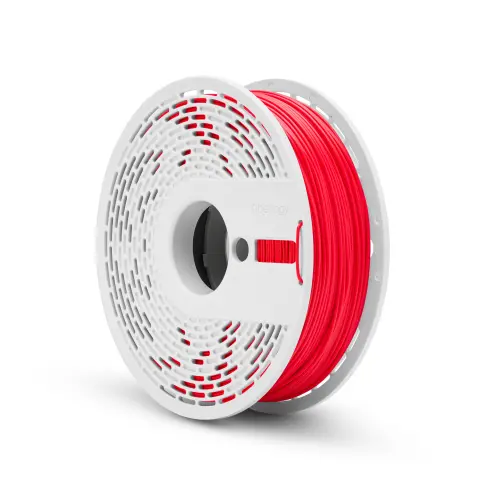
A good and accurate printer is one thing, but do not underestimate the impact the right filament has on the quality of your print. Especially when you are starting out with 3D printing, it can be quite unclear what all those different types of filament are. The terms come flying at you. PETG, PLA, ABS — those are 3 examples of 3D printer filament mentioned in many blogs, videos and other articles. I am of the opinion that when you are a real beginner in 3D printing, you are best off starting with an accessible filament. In this case I really do recommend PLA, and the PLA we offer in particular. We sell Fiberlogy Easy PLA and have many colours of it available from stock. This filament really is a high-quality filament at prices comparable to the bargain-bin kilos of all kinds of house brands I so often mention. You will genuinely notice a difference in use between one roll of filament and another. Fiberlogy has developed a formula that makes your print adhere even better to the print bed, flow better, and makes the layers bond to one another extremely well. So the word Easy in the name is not there for nothing. If you want to read more about why you should use PLA or PETG, read the detailed explanation at the bottom of the rolls on the 3D Fanshop product pages.
Tip 4. Do not get frustrated, prints are going to fail
Okay, let us be honest for a moment: however good or expensive your printer is, however good your 3D filament is, prints are going to fail in the beginning. 3D printing is a hobby you can get into easily, but there is also a learning curve attached to it. Through time and through all the experiments and attempts you get better and better. But even with premium filament from Fiberlogy you are not guaranteed success. 3D printing is a very complex process and there are many factors that determine whether a print is completed successfully or whether you end up with a very large pile of spaghetti. Try to come up with solutions, do research, try to improve and above all do not get frustrated. There will come a tipping point where you will have experienced all sorts of problems before, and from then on nothing will faze you.
Tip 5. Get to know your 3D printer
Here I can make another nice link to the point above. To be able to lift a successful print off your heated bed, you need to know the basic principles of 3D printing. By now you have chosen a 3D printer after a lot of research, you have a fantastic roll of Fiberlogy Easy PLA filament in an exciting colour and you are ready to go. You may even have printed a few things already, but what I want to pass on to you is: get to know your printer. Every brand of 3D printer has its own strong and less strong points, and while the basics of printing are the same, it is important to set up every 3D printer properly. Read about e-steps, about levelling your print bed, dig into the accuracy of your prints and look at where and how you can improve it. Every 3D printer has a sweet spot, and for hardly any two printers is it the same. Take your time, read a lot, listen a lot and experiment a lot. Go through your printer's menu carefully and try to work out what all the functions and settings are for.
Tip 6. Start with simple prints
When you buy a 3D printer, an SD card or USB stick is often included containing files of 3D models you can print (including Creality's well-known little dog). By printing these supplied objects you can test nicely whether your printer does what you want. This lets you all but rule out that, if things are not going entirely smoothly, the cause lies with the printable file. These files have already been “sliced” specifically for your printer. This is a good way to discover whether you are using the right temperature for your heated bed and for your hotend. The temperature differs per brand of filament, for example, and performs within a certain range. For Fiberlogy Easy PLA filament this is between 200 and 230 degrees Celsius, for instance. You can now simply keep trying without having to worry about the file and the associated settings. Once you have got the hang of this, you can look for fun models on the internet yourself. The best-known website for this is Thingiverse, with an unrivalled number of models on it that are mostly free to use non-commercially.
Tip 7. Use the slicer software you feel comfortable with and learn what it can do
There is no getting around it. Anyone who wants to print 3D models with a 3D printer will have to prepare those models with a software program. So-called slicer software. Slicer software converts the files you download, GCODE files for example, into files that are specific to your printer, with the settings you have chosen. These files are often STL files. You may also come across 3MF files. Every slicer program has its own strengths. It is entirely up to you which software you want to use — in my case I even use PrusaSlicer (formerly Slic3r) for files I print with my Prusa i3 MK3S and Cura for files from my Ender 3. That is just how it crept in. In any case, learn thoroughly what your slicer can do: how to generate the best infill, how to set the flow rate, how to place supports that are easy to remove, and how to set the right settings such as hotend temperature, bed temperature and, not unimportantly, the layer height.
Tip 8. Keep an eye on things with Octoprint
A nice addition to your 3D printer is Octoprint. Octoprint is a piece of software that runs on a Raspberry Pi, for example — a very small computer. You can connect a webcam to this little computer. This can be done with USB or with a Raspberry Pi cam that you connect directly to the motherboard. With Octoprint you have one of the easiest tools at your disposal for giving your printer instructions, starting or cancelling a print, viewing the progress and, of course, following a live stream of your printer via the webcam. Ideal, because now you no longer have to mess about with USB sticks or SD cards: instead you drag your file from your computer straight into your Octoprint environment and start the print immediately. Some slicer software even has a link with Octoprint, so you can set your 3D printer to work without any intervention at all.
Tip 9. Upgrade your printer with some handy additions
Everyone wants to start with the coolest models, but what I would recommend is to restrain yourself just a little at the beginning. You can often give your printer a serious upgrade with a few functional prints. If you search around a bit you will come across plenty of files you can download and print to upgrade your 3D printer. Think of a better spool holder, a cover cap for your fan, a housing for your Raspberry Pi, an extruder knob, a storage drawer and so on. The possibilities are endless, both functional and for pimping your printer. Further (non-printable) upgrades I can really recommend are:
- A glass bed. On my Creality Ender 3 in particular, where I noticed that the heated bed was not 100% flat, I was able to create a perfect print surface. Filament adheres excellently to glass and it makes a beautiful finish for the so-called first layer.
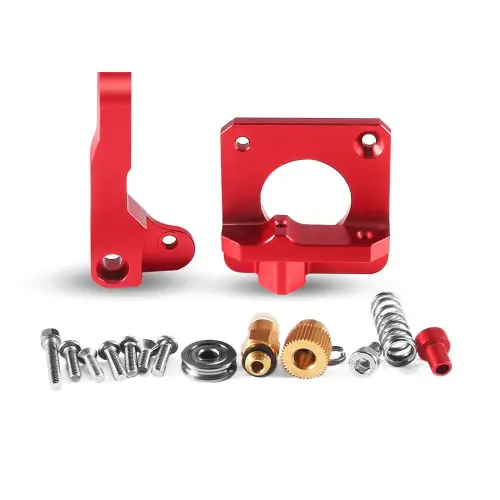
- An aluminium extruder. On some printers the extruder — where your filament is pushed through — is made of plastic. Over time the filament can wear into the extruder. This creates friction and the feed hole becomes a good deal larger. That is not good for print quality.
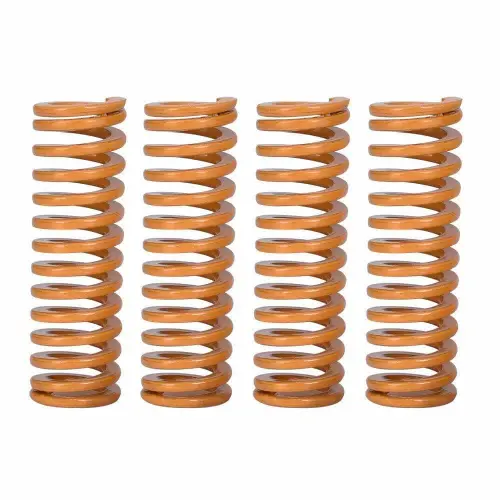
- Sturdy heated bed springs. Many heated beds can be levelled using adjusting nuts. However, the springs that sit between the bed and the nut are often of very light quality. This means the position can change quickly, whether or not accidentally by knocking against it, which in turn means you have to level again. Sturdy springs press more firmly against the adjusting nut, so there is more tension on it and it comes loose less easily. Ideal, also for when you use an automatic bed levelling system such as the BL Touch.
- Octoprint. Mentioned before, but worth naming again: I could not do without it, both my printers are equipped with it.
Tip 10. 3D printing is fun, keep challenging yourself
Once you are printing away nicely, and you get to know your printer, your filament and your software better and better, it is time to challenge yourself again. Have a look at a different filament such as PETG, for example. Our Fiberlogy Easy PETG really is a splendid filament, of which we also offer various transparent or exclusive colours. Or go a step further and try printing real wood with Fiberlogy FiberWood wood filament. And once you really understand what you are doing, try a flexible filament, with which you can print a rubber door stop in no time, for instance. We have Fiberlogy FiberFlex in 2 different hardnesses and in many colours. Apart from the filament, take a look at 3D software with which you can create your own designs. A nice entry point is available online completely free: TinkerCad. Have a play with it. There you go — plenty of challenges to keep expanding your hobby. Enjoy!