Nederland
 België
 France
 Deutschland
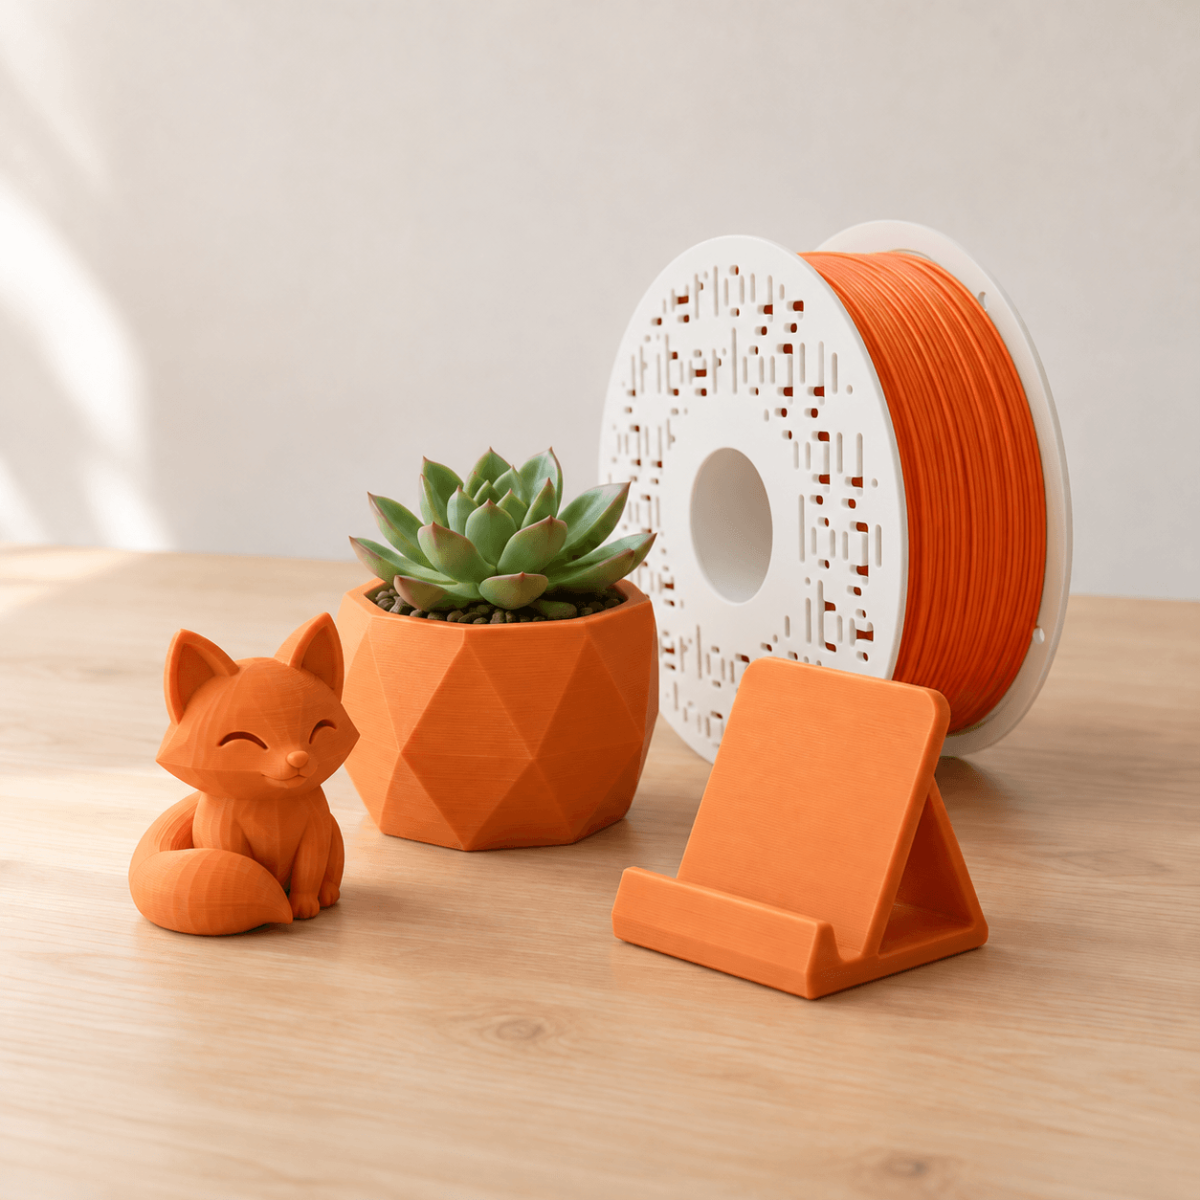
In short: a 3D printer builds an object layer by layer from melted plastic wire, called filament. You need a printer, a spool of filament and free slicer software, and with modern printers you often have your first print within an hour. Start with PLA, choose simple models and accept that a print will fail now and then.
When I started out myself, with a Creality Ender-3 that I first had to screw together, there was a lot to learn. Fortunately, 3D printing has become much more accessible since then. What I wish I had known back then, you'll find below.
How does a 3D printer work?
Most home 3D printers use FDM, short for fused deposition modeling. It sounds complicated, but the principle is simple. The printer pulls a thin plastic wire, the filament, from a spool and pushes it through a hot nozzle of around 200 °C, where the plastic melts. The nozzle moves over the build plate and lays down a thin line of molten plastic that hardens straight away. Once a layer is done, the nozzle moves up slightly and the next layer begins.
A layer is usually 0.2 millimetres thick, so an object 5 centimetres tall consists of around 250 layers. That is why a print easily takes a few hours, and why you see fine lines on most prints: those are the layers.
From idea to print takes three steps:
- A 3D model. You download it or design it yourself. A model is a file, usually STL or 3MF.
- The slicer. This program cuts the model into layers and works out how the printer has to move. This is also where you choose the filament, the layer height and how solid the inside will be. Good slicers are free, such as Bambu Studio, OrcaSlicer, PrusaSlicer and Cura.
- Printing. You send the file to the printer over wifi, a USB stick or an SD card, and the printer gets to work.
What can you make with a 3D printer?
More than you think. Once you own a printer, you start looking differently at broken and missing things around the house. Before you know it, you'll be saying "I'll just print that!" every time a little cover snaps off. A few examples:
- Handy things for the home: hooks, cable holders, drawer organisers, a phone stand or a holder for your tools.
- Replacement parts: a broken knob, a remote control battery cover or a clip you can no longer buy. With a calliper and some patience, you can model the part yourself.
- Hobbies and games: figures for board games and tabletop, parts for scale models, cosplay accessories and puzzles.
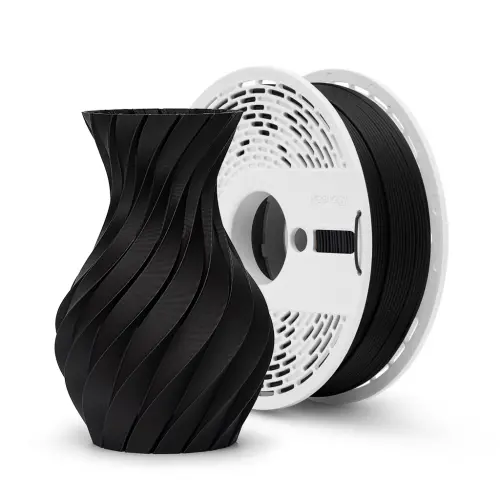
- Gifts and decoration: name signs, keyrings, vases and planters. With silk filament they get a glossy finish.
- Work and school: prototypes, enclosures for electronics and models to present an idea.
- Flexible things: with flexible filament you can print phone cases, caps and non-slip feet.
Can you 3D print a photo? Yes, as a lithophane. That is a thin panel with varying thickness. Hold it up to a lamp and your photo appears in light and shadow. Free websites can turn a photo into a lithophane model, and white PLA gives the best result.
You can find free models on sites such as Printables, MakerWorld and Thingiverse. Want to design something yourself? Start with Tinkercad: it runs in your browser and is made for beginners.
Is 3D printing difficult?
Not as difficult as you might think, and a lot easier than a few years ago. Many printers now come almost ready to use out of the box, level the build plate themselves and have ready-made profiles for common filament. That is why you often have your first print within an hour.
Okay, let's be honest: prints will fail, no matter how good your printer or filament is. A print that comes loose, strings between parts or a print that ends up as a big pile of spaghetti: everyone runs into it. The good news is that most problems have a known cause. In Solving common 3D printing problems you can read what to do about each one.
What do you need to get started?
- A 3D printer. As a beginner, look for automatic bed levelling, a clear manual and an active user community, so you can find help when you get stuck.
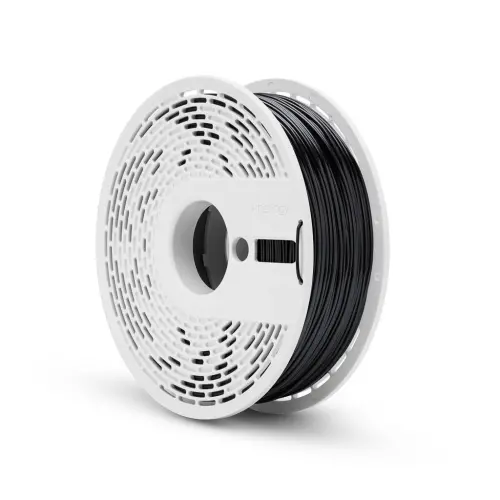
- Filament. Most printers use 1.75 mm, some older models 2.85 mm. Check this before you order.
- A slicer. Free to download; your printer's manufacturer often has one.
- Small tools. A spatula to remove prints, side cutters to clip off support, tweezers and isopropyl alcohol to clean the build plate.
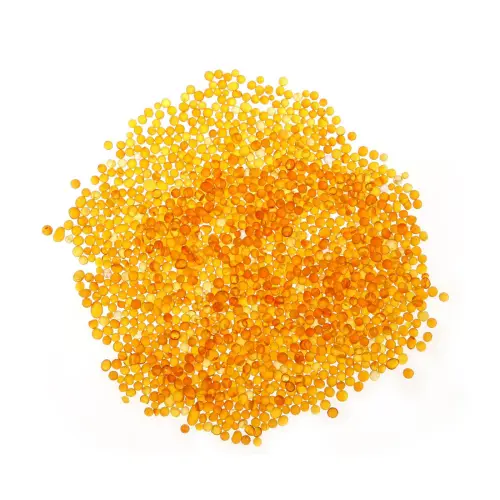
- A dry place for your filament. Filament absorbs moisture from the air. Store your spools in a sealed box or bag with silica gel beads.
Your first filament: start with PLA
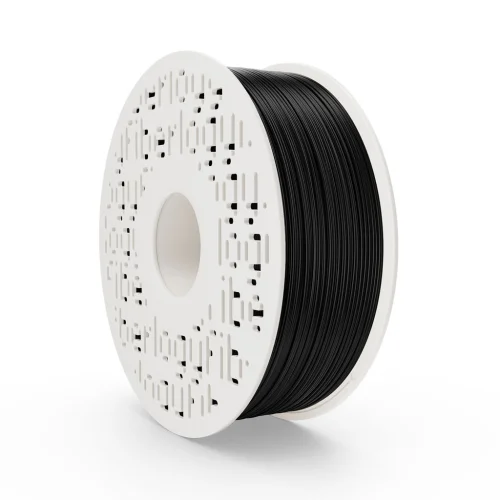
PLA is the easiest filament to start with. It prints at a low temperature, hardly shrinks, doesn't smell and works on almost any printer. It comes in a huge range of colours. If you want layer lines to show less, choose PLA Matte. When you later need stronger parts that can handle heat, PETG is the logical next step.
Wondering which material suits which print? Read Which filament should you choose? Every type of 3D printing filament explained, or get advice from our filament guide.
10 tips for your first prints
- Follow the manual and the calibration. Don't skip the setup steps. A well-levelled build plate prevents most problems.
- Start with a test print. Most printers come with a few ready to go, and otherwise the 3DBenchy is a classic: a little boat that just about everyone prints first. If it succeeds, you know the basics are right.
- Keep the build plate clean. Grease from your fingers is the biggest enemy of a good first layer, so hands off the plate! Clean it with isopropyl alcohol, or with washing-up liquid and warm water if the manufacturer recommends it.
- Watch the first layer. Stay with the printer until it is done. If the first layer goes well, the rest of the print usually does too.
- Use the default profiles. Start with the slicer profile that matches your filament, then change one setting at a time. That way you know what each change does.
- Choose simple models first. A model with a flat base and little overhang is the easiest to print. Later, supports let you print trickier shapes.
- Keep your filament dry. Wet filament crackles, strings and gives a rough surface.
- Check the slicer before you print. It shows how many grams of filament and how much time a print takes, so you don't end up with half a print and an empty spool.
- Treat a failed print as a lesson. Look at what went wrong, find the cause and try again. One day you'll reach the point where nothing fazes you any more.
- Find a community. Forums, Facebook groups and Discord servers for your printer brand are full of people who have already solved the same problem. Don't be too proud to ask: that one tip can make the difference between hours of struggling and the perfect print.
No printer, but an idea?
Don't have a printer yet, or want something made that is bigger or stronger than you can print at home? With our 3D printing service you upload your model and we print it for you, from a single part to a small series.
Ready to start?
Our range of 3D printer filament brings together every material from Fiberlogy and Fill 3D, from our own stock. I hope you find this guide useful. Welcome to the club and happy printing! :)