Nederland
 België
 France
 Deutschland

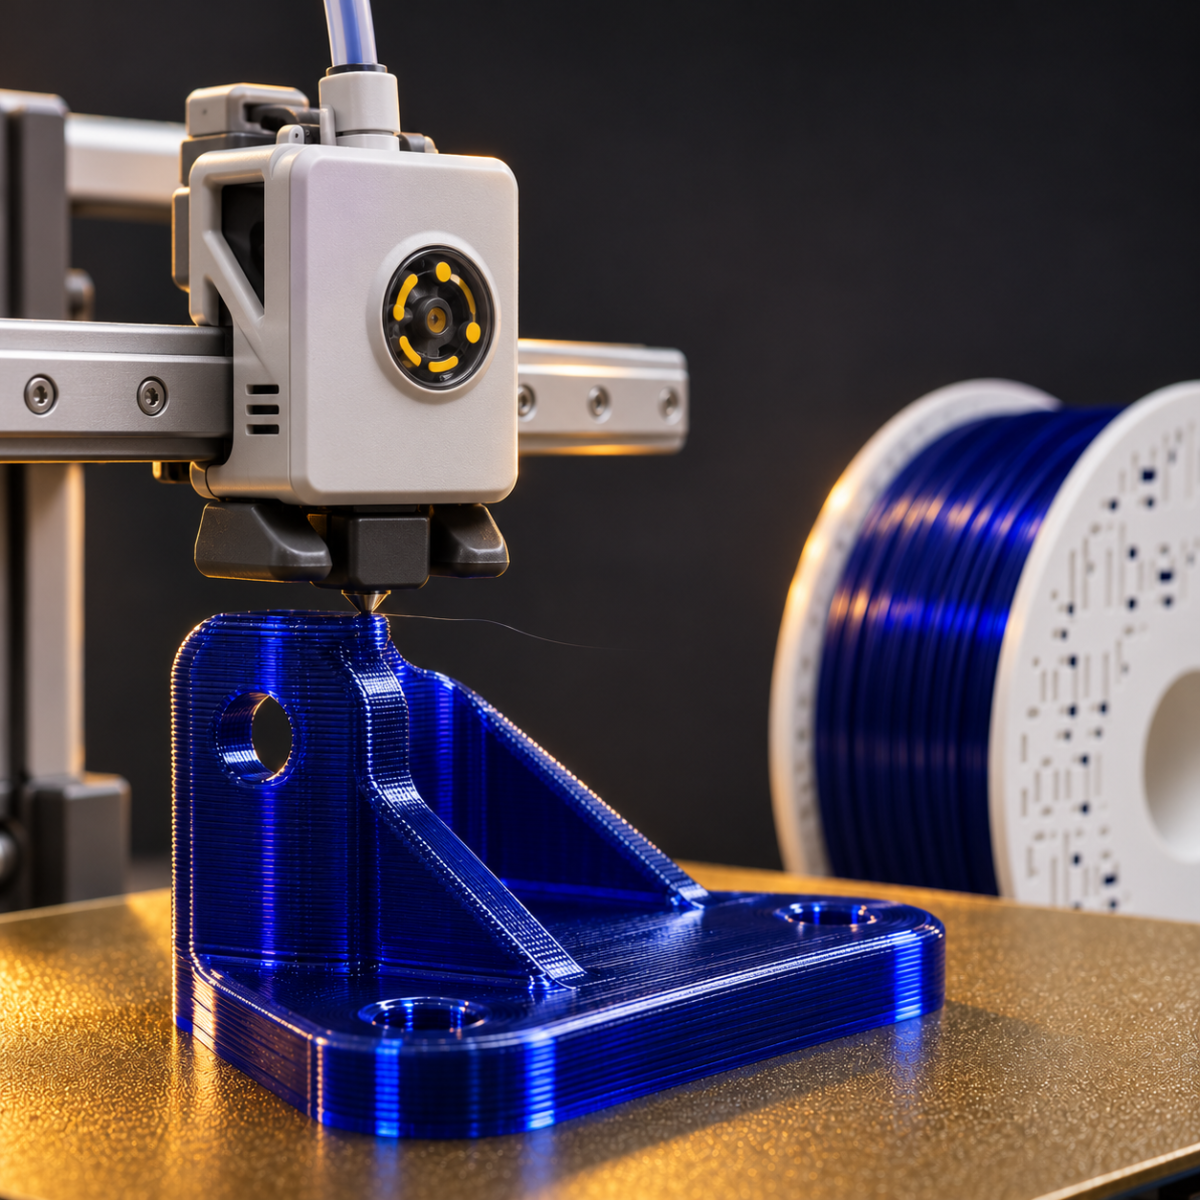
PETG is a versatile filament, but it behaves differently from PLA during printing. With the right settings, you can make strong and reliable parts. With the wrong settings, you may soon end up with a rather impressive pile of spaghetti. This guide covers the practical basics of printing PETG.
How is PETG different from PLA?
PETG is stronger and tougher than PLA and remains dimensionally stable up to around 70 °C. PLA is usually closer to 55 to 60 °C. PETG needs higher temperatures, less cooling and is more likely to produce stringing. For the basics of PLA, see our PLA filament tips.
Tip 1: Find the right PETG temperature
The best PETG temperature depends on the material and your printer. Use these values as a starting point:
| Filament | Nozzle temperature | Bed temperature |
|---|---|---|
| Fiberlogy Easy PETG | 230 to 250 °C | 90 °C |
| Fiberlogy R PETG | 210 to 230 °C | 50 to 70 °C |
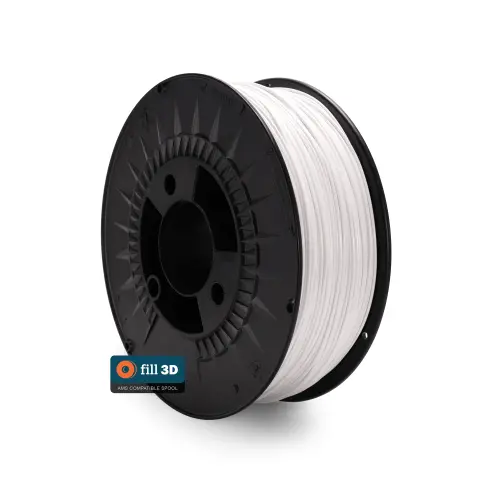
| Fill 3D PETG | 230 to 260 °C | 0 to 80 °C |
| PETG Matte | 250 to 270 °C | Check the product information |
| PCTG | 250 to 270 °C | 90 to 110 °C |
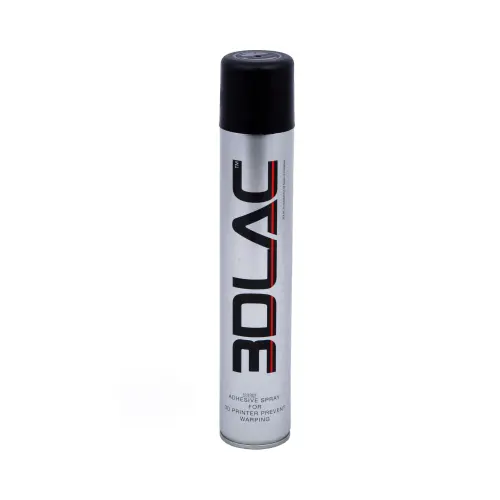
Fill 3D PETG can be printed without a heated bed when you use 3DLAC adhesive spray. Always check the exact values listed with the product. Start in the middle of the range and print a temperature tower. This gives you a practical way to find the cleanest setting for your printer.
Tip 2: Get the first layer and adhesion right
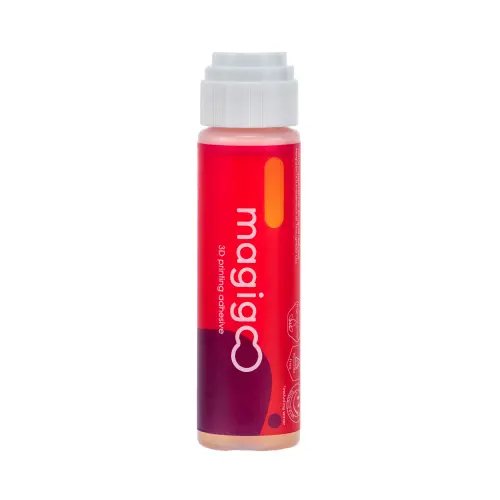
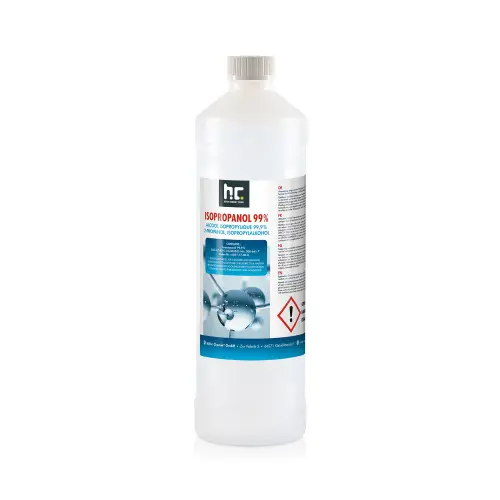
PETG can bond so strongly to smooth PEI that it damages the surface when removed. A textured PEI sheet or a release layer made with glue stick or adhesive spray is therefore a sensible choice. More advice is available on print bed adhesion. Clean the bed thoroughly with isopropanol to remove grease.
Do not press the first layer as flat as you would with PLA. A slightly larger Z offset can stop the material from being pushed too deeply into the surface.
Tip 3: Set cooling carefully
Start with around 30 to 50% cooling. Too much cooling can weaken layer adhesion. For bridges, you can temporarily increase the fan speed. A fully enclosed printer is not required for normal PETG printing.
Tip 4: Reduce PETG stringing
PETG becomes quite runny when molten, which is why it often leaves thin hairs between parts. Dry the filament, try printing 5 to 10 °C cooler and tune your retraction settings. It also helps to reduce travel moves across open areas. Easy PETG was designed to limit stringing. If the hairs keep appearing, take a look at solving common 3D printing problems.
Tip 5: Drying PETG
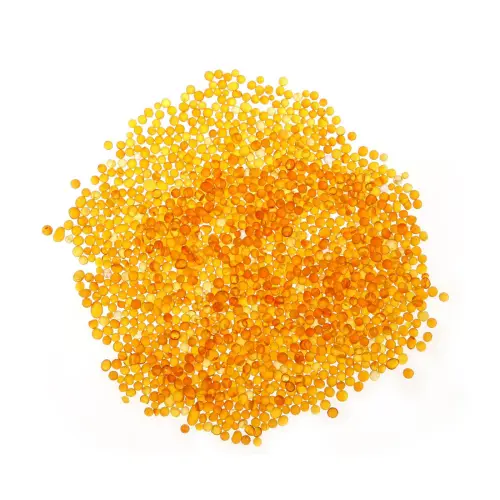
Popping sounds, small bubbles, a rough surface and excessive strings are common signs of moisture. Dry PETG for around 4 to 6 hours at approximately 65 °C in a filament dryer. Store it afterwards with silica gel. Read more about this in storing and drying filament.
Tip 6: Use the right nozzle for reinforced filaments
For PETG + CF and PCTG + CF or PCTG + GF, use a hardened steel nozzle. The fibres can wear down a standard brass nozzle much faster.
Post-processing PETG
PETG can be sanded, and wet sanding is a pleasant way to reduce dust. If you want to paint the part, apply a plastic primer first. The paint will adhere better and the surface will look more even.
When is standard PETG not the best choice?
- PCTG: Choose PCTG if you need more impact resistance, and read PCTG versus PETG for more context.
- PETG Matte: Use PETG Matte when you want a matte finish.
- ASA: For sunlight and higher temperatures, ASA may be a better direction.
- PETG + CF: For a stiffer part, consider PETG + CF.
Which PETG is right for you?
That depends on whether you value easy printing, a matte finish, greater impact resistance or extra stiffness. Browse PETG filament and the PETG category to compare the available options.
I hope these tips make your PETG prints more predictable. To be honest, even good settings cannot prevent every failed print. It happens. Enjoy your printing!